Microsoft recently added Bing AI in the Edge browser, a direct competitor to similar AI chatbots from OpenAI and Google. The company also integrated Copilot into Windows 11 and 10 with the 23H2 Windows update. However, some users encounter the ‘Network Settings Preventing Access’ error in Bing AI when accessing it.
The most common reasons for this issue include using a VPN to access the service, network glitches, meddling extensions and cookies settings, and incorrect browser settings. Use these eight methods to get Bing AI back on track.
1. Rule Out Network Issues
Bing AI is a web service, so you must inspect your internet connection before trying out other fixes. Open other websites in the Edge browser, from your bookmarks, or a web-based application on your PC.
You need to restart your router to clear its cache and reconnect to your ISP. If everything works fine, move to other fixes mentioned below. While you’re at it, check out third-party outage monitoring sites like DownDetector to learn about reported incidents with Bing AI servers.
2. Disable or Reconfigure VPN Settings
Micorosft seemingly restricts users from employing a VPN connection to use Bing AI. Several users were able to connect to the service after uninstalling a non-useful VPN app and disconnecting from a VPN network. Here’s how to go about it:
Step 1: Press the Windows key + D to switch to the desktop. Go to the system tray icons area in the Taskbar and click on the arrow icon.

Step 2: Right-click on the VPN app icon and select the Disconnect option.

Step 3: Launch Bing AI in Edge and check if you can access it now.
If you use a custom VPN, you must disable it from the Settings app.
3. Login to Edge With a Microsoft Account
Microsoft permits access to Bing AI with a Microsoft account only. If you haven’t signed in to the Edge with a Microsoft account, you must do so. Here’s how:
Step 1: Open the Edge browser.
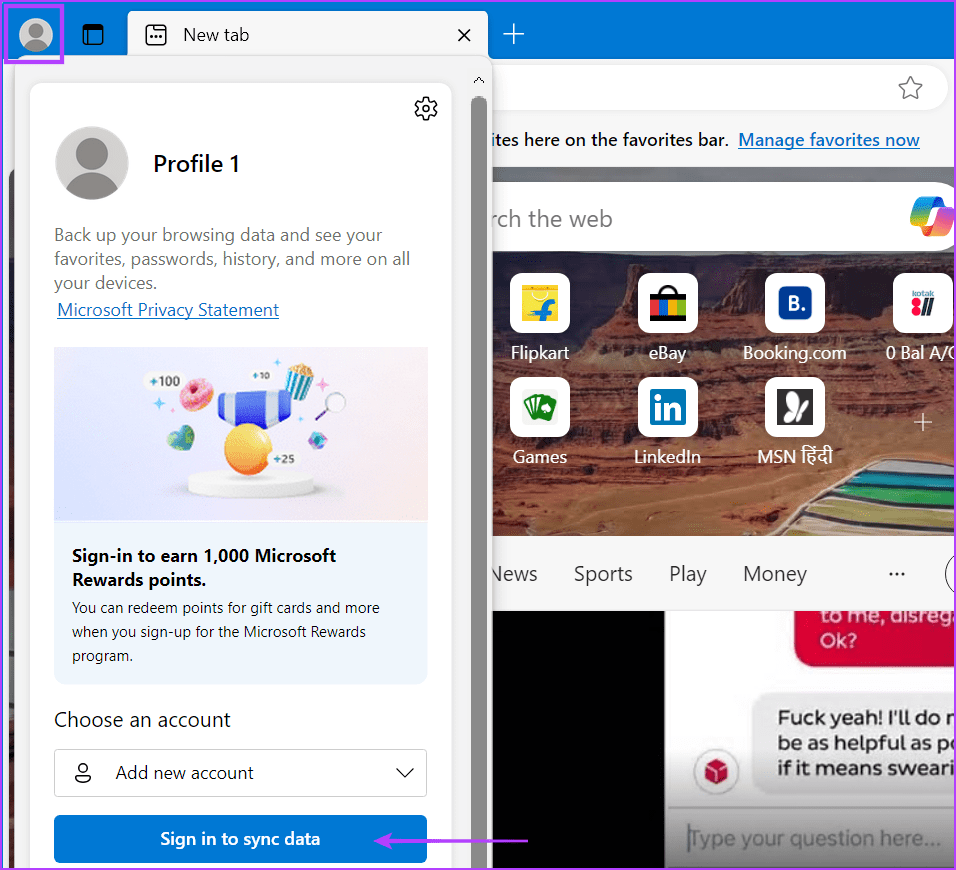
Step 2: Click on the Profile icon. Click on the ‘Sign in to sync data’ button.
Step 3: Type your Microsoft account email address and click on the Sign in button.

Step 4: Now open the Bing AI Chat page and check if you are still facing the ‘Network Settings Preventing Access’ error.
4. Temporarily Disable Installed Extensions
It should be noted that certain enabled extensions may create conflicts with the Bing AI Chat service. So, you must disable all the active Edge extensions one by one to check if it resolves the access issues with Bing AI. Here’s how:
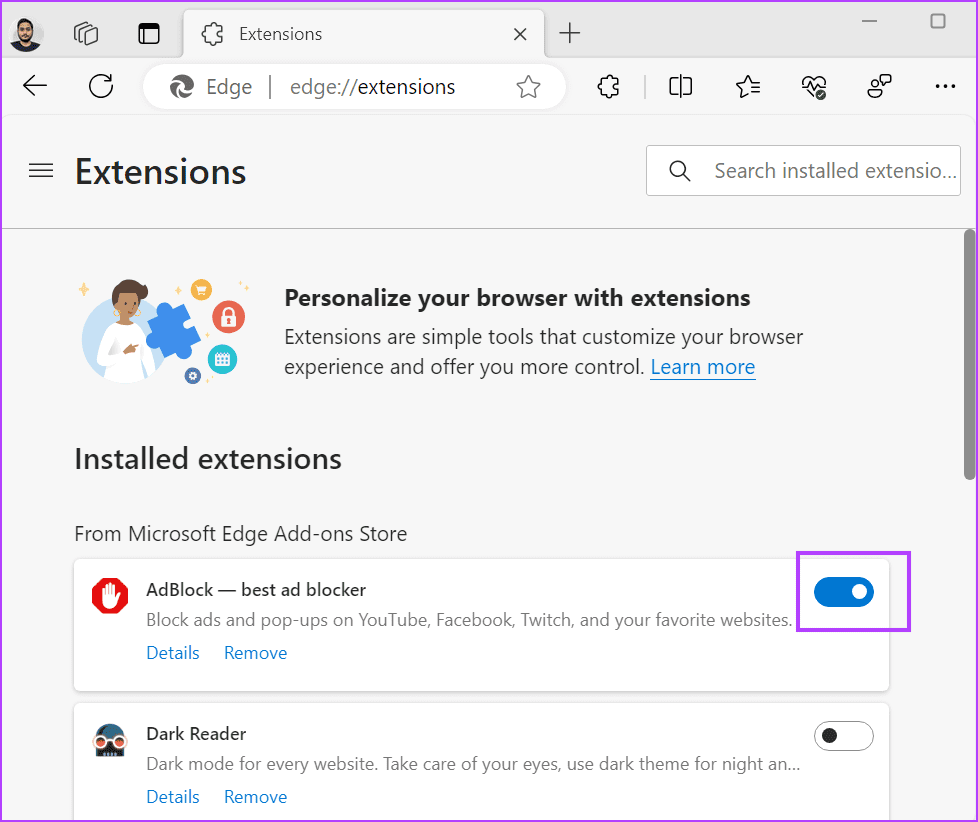
Step 1: Press the Ctrl key + T to open a new tab. Type edge://extensions/ in the URL bar and press Enter to open the Manage Extensions page.

Step 2: Click on the toggle next to an extension to disable it.
Step 3: Restart the Edge browser and check if Bing AI works fine.
If that isn’t the case, reopen the Manage Extensions page and disable other extensions. Repeat this process until you find the bothersome extension.
5. Allow Third-Party Cookies
If your browser blocks third-party settings, it can unintentionally break some features on select websites. So, enable third-party cookies to check if it is the reason for the Bing AI error. Repeat the following steps:
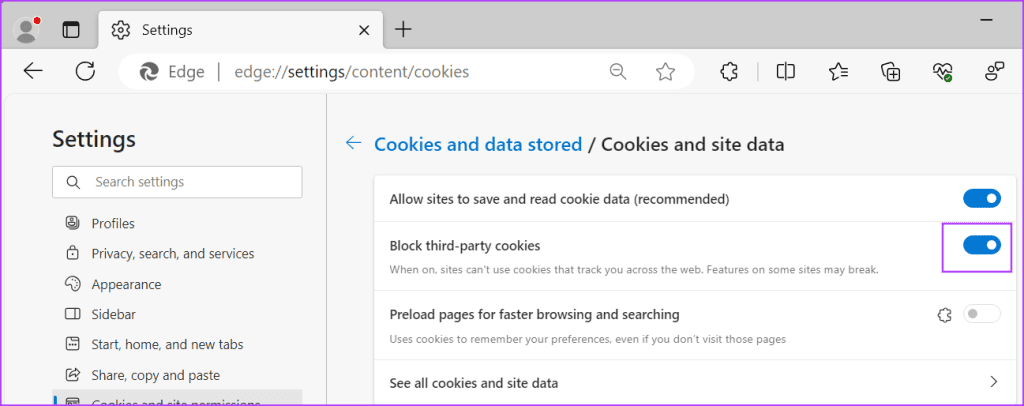
Step 1: Press the Ctrl key + T to open a new tab. Type edge://settings/content/cookies in the URL bar and press Enter to open the Cookies page.

Step 2: Disable the toggle next to the ‘Block third-party cookies’ option.
Step 3: Close and Relaunch the Edge browser.
6. Flush the System and Browser DNS Cache
DNS cache reduces the time taken to fetch the IP address of a URL. Both, the browser and your Windows PC, maintain a DNS cache. If the entries are corrupt or outdated, you will have trouble accessing Bing AI. Here’s how to flush both of these:
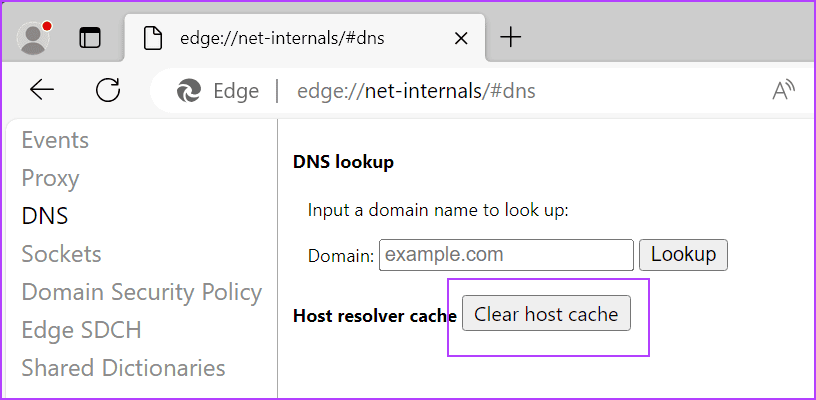
Step 1: Press the Ctrl key + T to open a new tab. Type edge://net-internals/#dns in the URL bar and press Enter to open the Net Internals page.

Step 2: Click on the Clear host cache button.
Step 3: Close the Edge browser.
To clear the Windows PC DNS cache, repeat the following steps:
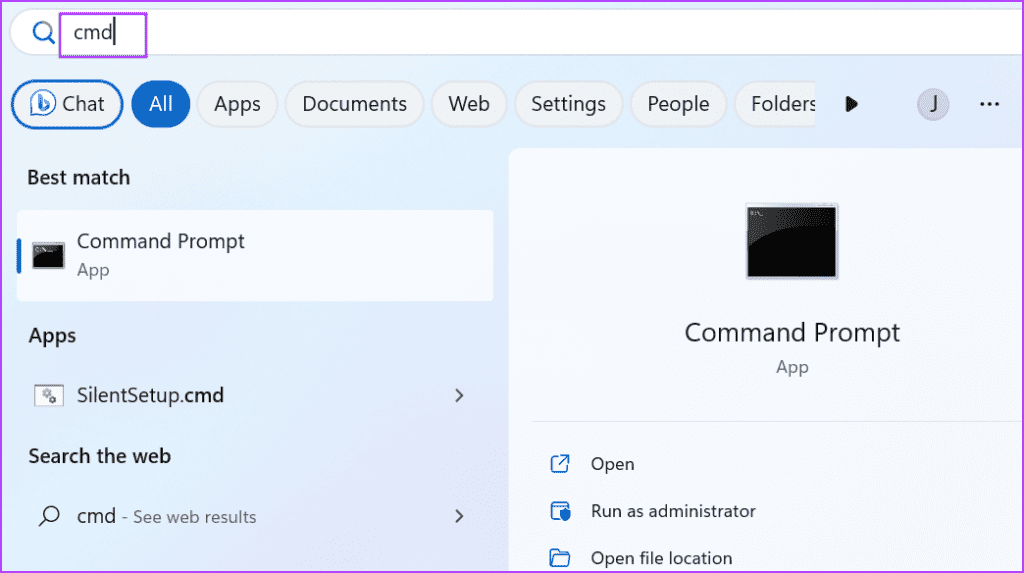
Step 1: Press the Windows key to open the Start menu. Type cmd in the search and press Enter to open the Command Prompt window.
Step 2: Type the following command and press Enter to execute it:
ipconfig /flushdns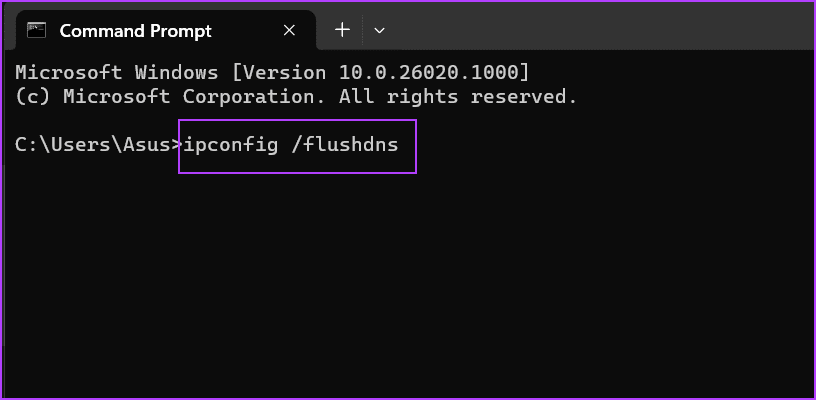
Step 3: Close the Command Prompt window.
7. Purge Browsing Data
Corrupt browsing data can restrict you from accessing some websites. So, you can try and wipe everything except your saved passwords and autofill data. Here’s how to do it:
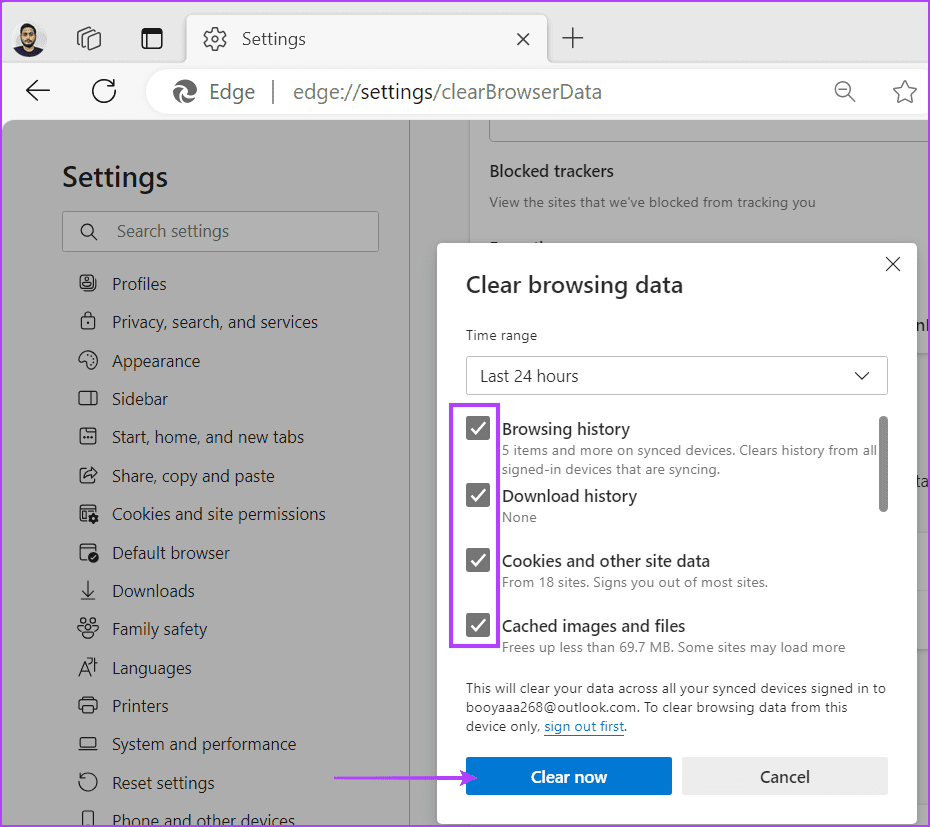
Step 1: Press the Ctrl key + T to open a new tab. Type edge://settings/clearBrowserData in the URL bar and press Enter to open the Privacy page.

Step 2: Select the Browsing history, Download history, Cookies and other site data, and Cached images and files options.
Step 3: Click on the Clear now button.
Step 4: Restart the Edge browser.
8. Reset Edge
The last resort is to Reset the Edge browser. It will restore Edge to its default settings and configuration. Here’s how to do it:
Step 1: Press the Ctrl key + T to open a new tab. Type edge://settings/reset in the URL bar and press Enter to open the Reset settings page.

Step 2: Click on the ‘Restore settings to their default values’ option.

Step 3: Click on the Reset button.

Step 4: Restart the Edge browser.
Fix Bing AI Errors
These were the eight methods to fix the ‘Network Settings Preventing Access’ error in Bing AI. Inspect your Internet connection, disable VPN and extensions, and flush the DNS cache. Clear browsing data, allow third-party cookies, and if nothing else works, reset Edge to fix the issue. Do let us know which fix worked for you in the comments below.